
A breadboard end, that is. For my trestle table, I wanted to ensure it would stay flat for years to come. Sure, I could have just gone with some battens, but I like the way a breadboard edge just dresses up a table.
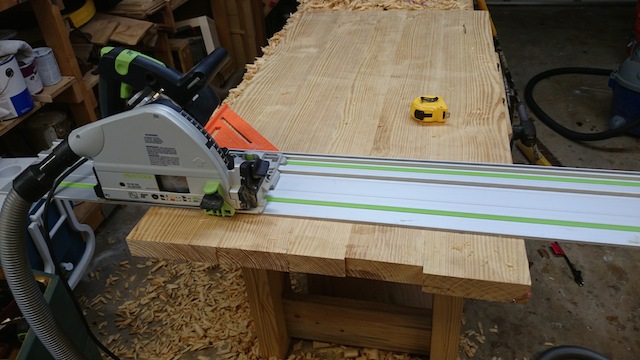
To start that process, I was going to have to square up the edges of the table glue up. That was something easily accomplished with a track saw, but an circular saw with a guide would easily knock that out.
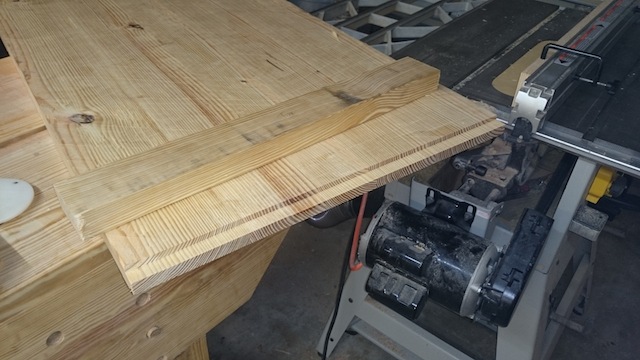
I next took the time to cut the tongue that would hold the edge on. Using my dado blade and the table saw fence, I had that sucker cut in no time. With that done, I selected a few pieces of straight grained, warp free boards to use for the edges.
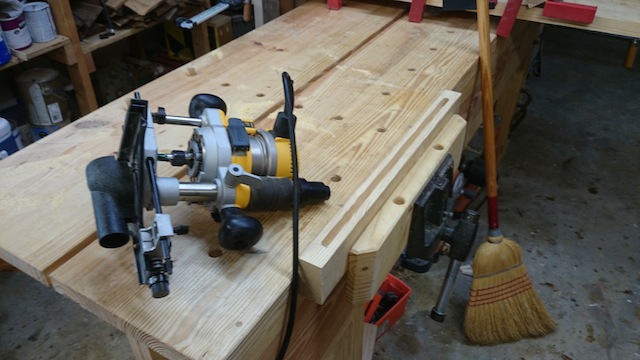
I put that edge board into my vise, and with a straight cutting router bit, I started cutting the groove. Since the widest bit I have is 1/2 inch, and I was shooting to match a centered 3/4 inch tongue, I took a few passes to ensure I had it nailed. The edge guide allowed me to sneak up on the width of the slot, and by flipping the board end for end and routing from each face, I was able to ensure that the groove was centered as well.
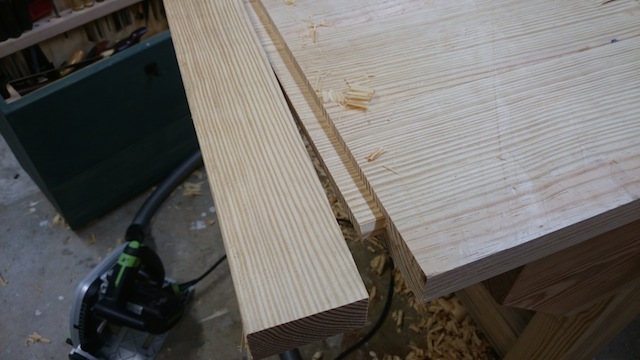 The edge took a little tweaking with a shoulder plane to get it right on, and I cut back the edges of the tongue to back it off the side of the table. I wanted this one to be captured within the breadboard edge.
I drilled holes for three pegs into the end through the tongue, and pulled it off to elongate the outer holes to give the edge room to expand. I then reinstalled the edges and drove the three pegs home.
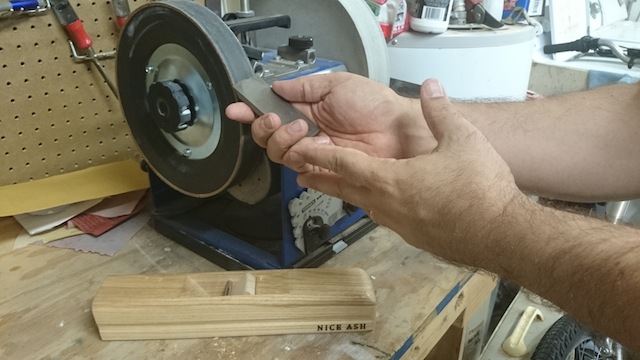
Because the edges were a little thicker than the top, I had to do some hand planing to get things down nice and even. A quick trip to my Tormek to touch up the blades on the strop really helped things go smoothly. Remember, those sharp plane irons shave, they don’t tear.
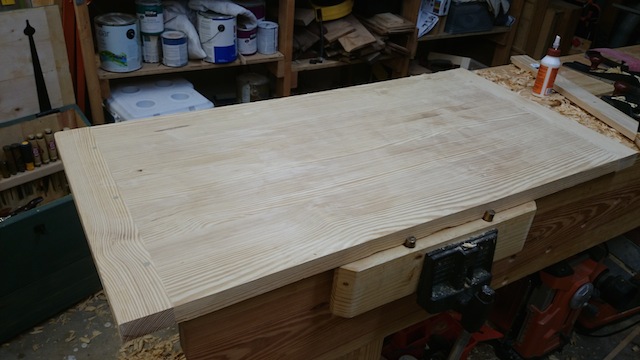
With the work done, I think the top is looking fairly good. it’s nice and flat, just in need of some final sanding before a finish.
Next up, it’s time to drop the bass – oops – base for this trestle creation.
Looking good! The pegs also add a nice aesthetic touch.
Nice job Tom.
Did you cut the tongue on the table saw?
Yup. Using the dado blade.