
Here in the Tampa Bay area, we are known for a lot of stuff. The beautiful sandy beaches. The glorious sunshine. Water recreation like fishing, swimming and boating.

Oh, and we’re apparently also well known for our ‘adult dancing’ establishments. In fact, not too far from where the Tampa Bay Buccaneers play football (On Dale Mabry Highway), there are a number of – ahem – ‘reknowned’ businesses. Namely, Mons Venus and 2001. Yes, that’s the picture of 2001’s building, and I’m willing to bet they don’t screen the Kubrick classic there.
But, that’s not the kind of stripper I am referring to in this post. There are some times when you have to cut a number of narrow strips of wood to build a project. Maybe you want to build a curved lamination. Maybe you are creating strips of wood for stringing. If you turn to your table saw, your first inclination to cut these thin strips might be to push the rip fence close to the blade, turn the saw on and start pushing.
Not so fast. This can be a very dangerous act. First of all, that small strip of wood is pretty much assured get bound between the rising teeth of the table saw blade and the fence and be thrown back at you. And, just how narrow of a push block are you planning on using to maintain control over that thin strip?
It is a much safer option to rip the piece from the outside of the board – away from the rip fence – so the piece will fall free after the cut is complete. But, how do ensure that all of the strips are the same thickness?
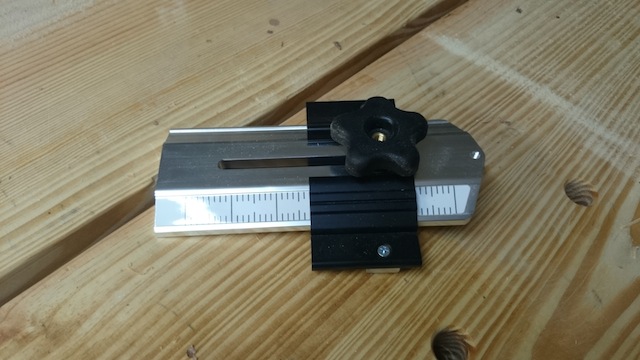
That’s where I got some help from my friends over at Infinity Cutting Tools. I picked up one of their thin ripping guides, and it has helped make what could be a challenging job a piece of cake.
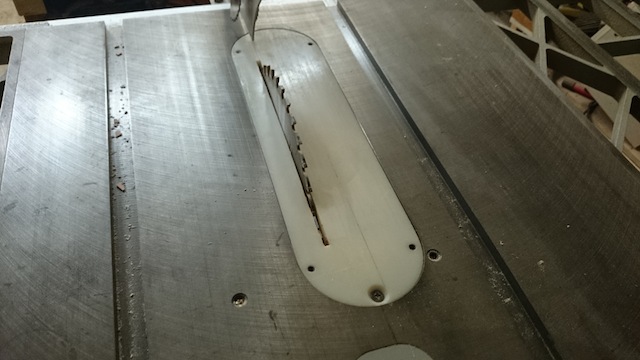
But,before you use it, it’s always best to switch to a zero clearance insert for your table saws. This jig allows you to rip some VERY narrow pieces, so you want to improve the odds that you will get a clean cut that won’t get sucked into the table saw cabinet.
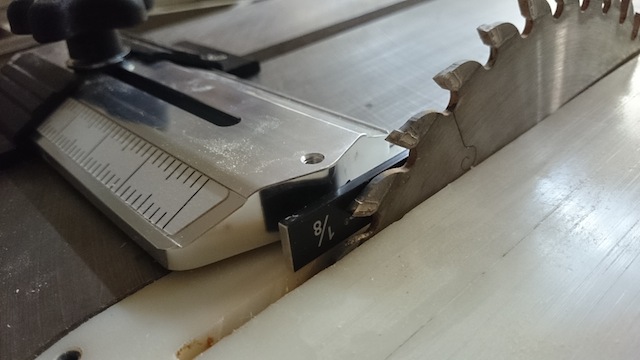
With the jig set in the miter slot, you can use a spacer to measure the clearance between the end bearing and the teeth of the blade. By using a feeler gauge, I was able to set the gap exactly at 1/8″… a nice thickness for bending.
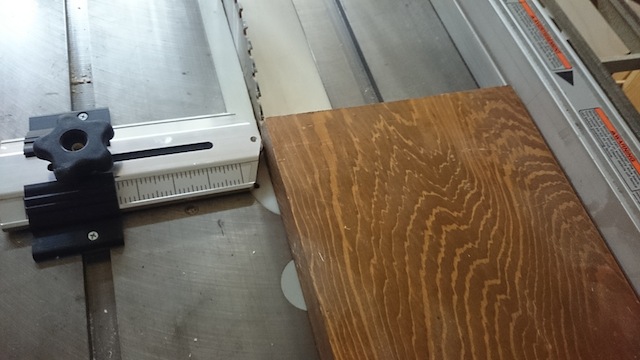
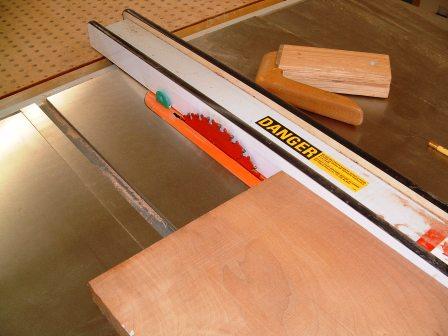
Once the gap was set, I slid the jig until the bearing was about one inch behind the front teeth of the blade. Using the rip fence, I captured the board between the roller bearing and the fence. With this done, it was a simple matter to fire up the dust collector and start cutting.
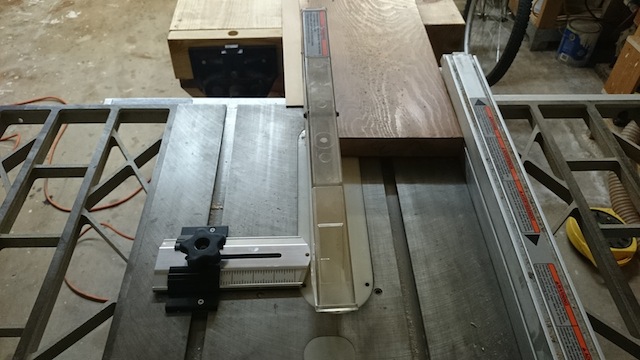
With the first pass done, you can see the strip lying to the outfeed part of the table, with the board under plenty of control pushed past the blade. To set for the next cut, I retrieved the board, reset the fence until the outside edge contacted the bearing, and repeated.
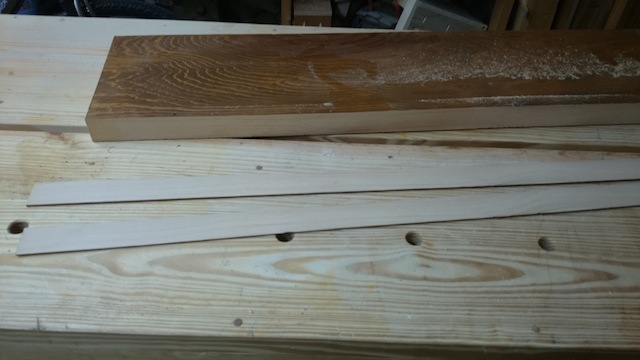
With this jig, I was able to make identical, repeatable cuts in the board, which will come in handy the next time I need to cut a series of strips.
After all, I’d much rather be working in the shop than cruising Dale Mabry. Besides…

The view is much better here!
Good article Tom. Cutting thin strips accurately and safely seems to be a need that occurs more than you’d think. Do you think the same jig could be used with a band saw?