Summertime, and the living is easy. Everyone is headed outside to take in some glorious sunshine and enjoy the outdoor activities we look forward to. A trip to the mountains. Sand between your toes on the beach. Picnics in the park.
Oh, and some folks like to go out and enjoy a round or two of golf. While I have only ever played golf once (no, you don’t want to know what my handicap is), there are lots of people who play a whole lot more frequently. From what I understand, it’s a great way to get outdoors, be social, and spend hours looking for a tiny white ball you just smacked with a club.
Every player is looking for the perfect shot, but I’m pretty sure I have never hit one. My mantra on that warm spring day was that if it went left, it was a hook; if it went right, it was a slice; and if it went straight, it was a miracle. The other shot I made a lot was the shank.
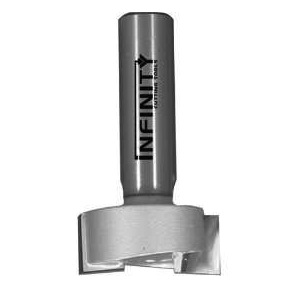
I’m not sure why it was called a shank, but it didn’t look anything like the shanks I see on my router bits. Now, those babies are sweet looking – precision ground, perfectly round and made of sturdy steel. Sure, the cutters of the bit get all the glory, but the shank is equally as important to the health and well being of your router bit, and deserves a little bit of love from time to time.
That’s what Kurt Raschke – the craftsman in residence at Infinity Cutting Tools – told me at a recent router basics class. The key thing to remember is that the shank is precision milled to hit an exact dimension. Yes, a 1/2″ shank is 1/2″ diameter, and a 1/4″ is a 1/4″.
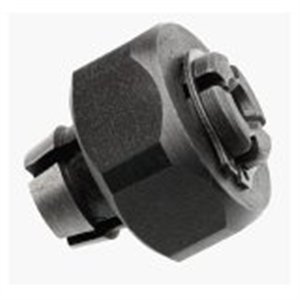
The reason they have to be so precise is that the sit in a collet, not a chuck, as you would see in a drill press. The collet can be smaller and lighter than a geared chuck, has tremendous holding power and is automatically self-centering. The downside is – of course – the collet can’t really adjust to different sized bit shanks. Keeping those tolerances tight is critical to getting a good fit.
Fortunately, keeping router shanks – and collets – in good shape is a simple matter of maintenance. First of all, every so often, you should inspect your bits. Is there any sign of wear? Burrs and grooves worn into router shanks could be a sign that the collet on your router may need to be replaced. Try not to sand them out, because that will affect the dimension of your shank, which can lead to pretty disastrous results. Can you say ‘bit slippage’?
You may want to wipe down the shanks from time to time with whatever you are using to clean pitch build up off the cutters to ensure debris or residues are cleaned off the shanks. Be sure to avoid using anything slippery on the bit, for obvious reasons.
It’s also a good idea to check your collet from time to time. After numerous bit changes, metal fatigue can begin to settle in, making it more difficult to tighten down your collet on the bit. Your first reaction will be to crank down heavily on the collet to get things snug, but that just compounds the problem you had in the first place. Spare collets for popular router brands can be found easily online. Some less-expensive routers may have a permanently attached collet on their models. In this case, a new router may be in your future.
Also, be sure to give the collet a good wipe out on occasion. This helps remove any residue that gets in there, extending the life of the collet a bit. A great tool to clean out the bits can be found at a gun shop. Pick up a .25 brush for your quarter inch collets and a .50 for your half inch ones. The soft metal of the brush is designed to be gentle on the rifling of a weapon, and it will also do a good job on a collet.
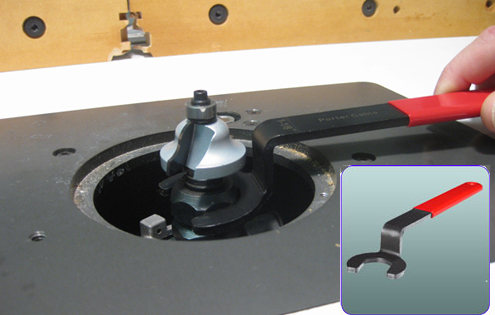
When you insert the bit into the collet, push it in until at least 2/3 of the shank is inside, or push the shank until it bottoms out, and then pull it up a fraction of an inch – maybe 1/16 or 1/8, to give the bit some room to move as the collet is tightened. You don’t want to leave the bit bottomed out as you tighten things up, because the tightening action will pull the bit closer to the router.
Also, just be sure to snug the bit up until it’s hand tight. If you have to crank down on the collet to get it to tighten up, you are looking at a replacement,, and you are making bit removal a nightmare later.
While they aren’t the prettiest or highest-tech part of the router bit, treating their shanks with some respect will keep your cuts true things of beauty.


…and be extra vigilant with any kind of collet reducer/insert as I learned a while back.
http://secondwindworkshop.blogspot.com/2013/04/a-slip-of-bit.html
When possible, I would recommend getting dedicated 1/4 and 1/2 inch collets rather that using a reducer/insert.
A good tip to avoid the bit from bottoming out is to add a small rubber O-ring to the shank just under the cutter.
My Keller jig uses bits that need adapter collets, and as long as I take good care of them, they last a long time.
Left, hook – right, slice, – straight, miracle?….ooy…..
And I’m sure Iggy could out-shoot me in golf…