
There’s this project I’ve been asked to tackle. I think the first request came in 2007. “Tom,” Rhonda asked, “Can you build a banquette for our dining room?”
For those who don’t know what a banquette is, it’s a built in bench that people can sit at while dining at a table. It’s useful for two reasons …. 1) it takes the place of chairs at the dining table, and 2) it gives basementless Florida homes a place where you can store stuff. While these are great reasons, I was reluctant to start. My objection? Well, bench sitting at a table kind of reminded me a little bit of dining in a McDonald’s.
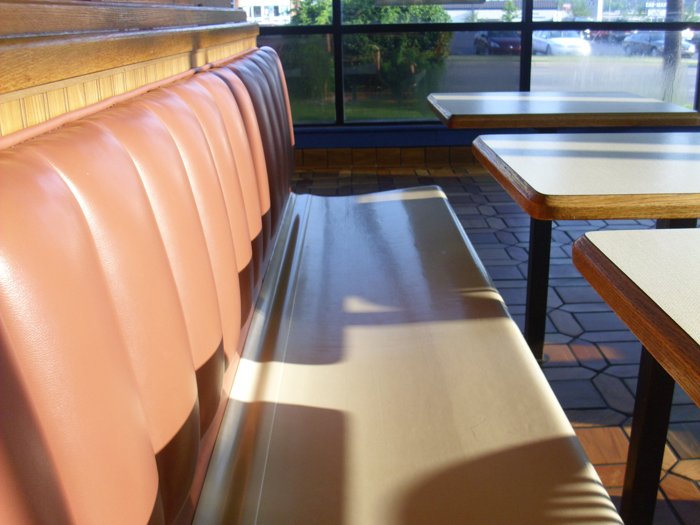
Of course, that line of thought didn’t go over well with the boss, so I eventually relented, and dedicated myself to making sure this project was not going to look as if it was from a fast food dining establishment.
Unlike some recent projects I have tackled, this one could hardly be called a carefully crafted, meticulously jointed gorgeous piece of hardwood. No, if I was going to build this, it was going to have to be built more like a piece of cabinetry, which means lots of plywood. Which is exceptionally cool with me! Plywood projects are great because they go together quickly, yet look great. A little bit after noon this past Sunday, Rhonda and I headed to the local home improvement emporium to get the materials. Two sheets of 3/4″ plywood and four 1 x 4 clear pine boards. That was all I was going to need to build the base of the piece and the seating area. I was going to build the backrest a little later, so this was all I needed for now.
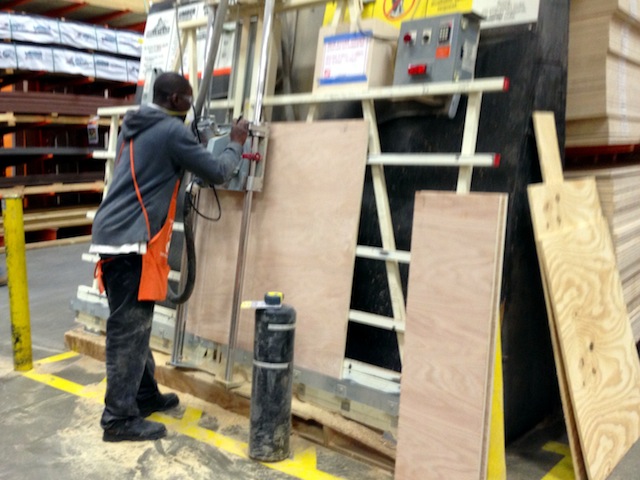
I had the folks over at the home center cut the plywood down to size. One sheet was ripped into two 2 x 8 foot sheets, and the other was ripped down to a 2 x 8 and two 1 x 8 strips. Those, together with the pine boards, were mounted on top of the kayak rack on our jeep, and bingo, we were off to the races.
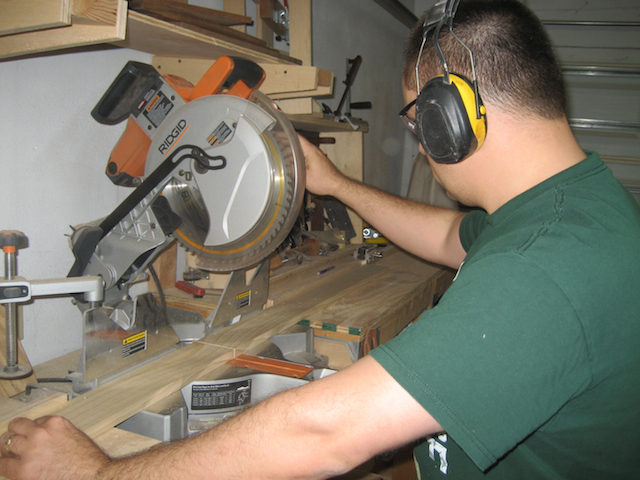
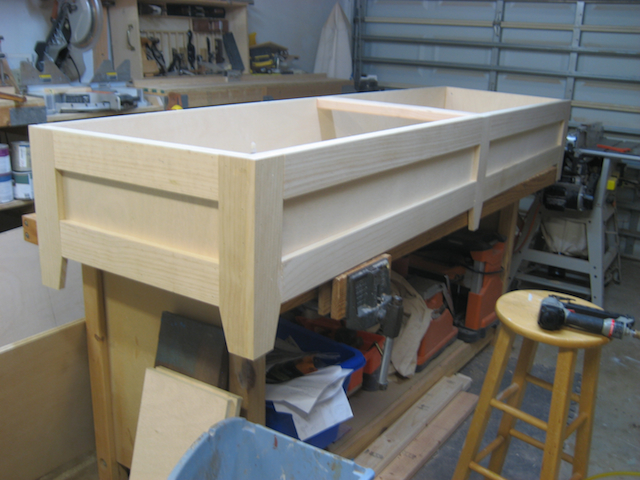
I used my track saw to break one of the 2 x 8 boards down to some end caps. They were 2 feet wide by 11 1/4 inches tall. These had the two sides screwed to it while lying back on my workbench. This way, the sides and top were even, which would form the top of the box for the bench. I laid the 2 x 8 strip in the middle to form the base, and with a little persuasion, I was able to get the diagonals all nice and even. Then, I flipped it over and screwed through the sides to capture the base. I also took the time to find the dead center of the box lengthwise and screw a 2 x 4 scrap across the top opening, to give the planned split lid a place to rest and to provide a little resistance to spreading. Pretty easy so far.
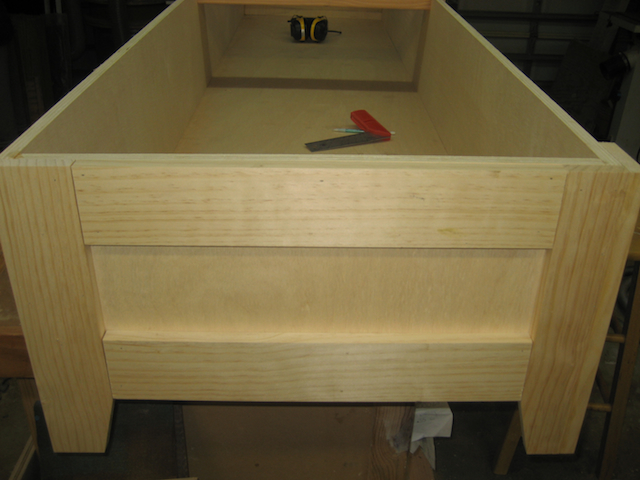
The real fun began when I planned for the feet. I wanted them to taper back a little to lighten the look. So, I cut the legs to length and clipped the corners so they would look a little more graceful. Then, I glued and bradded them on to the case, and put a pair of screws into each leg from the inside for good measure. Between the legs, I just cut lengths of 1 x 4 to fill in to make it look a little like a mock rail and stile. I’m pretty happy with the results.
Next, I’ll have to make and attach the lid. I may buy another sheet of 3/4″ plywood, rip it into two 2 x 8 strips, glue them together and make the lid double thickness for extra strength. I’ll also edge that with solid wood so it looks nice. From there, I will rip it to build a solid back piece to mount the back rest on, and have the front as a hinged panel to access the storage.
But, that’s another post for another day.
Noticing how quickly the piece was going together, Rhonda commented, “Wow, if I knew it was going to take such little time, I would have insisted you start this earlier!” I guess maybe now is the time to slow down a little so I don’t finish too quickly…
My wife wants the same thing!!!! I think we will be converting a pew into a bench. Stay tuned (but give me a year!).
Same project heading for our house.
Our small area off the kitchen by the windows is going to have one of these installed with a table.
But, I may need a few months for….ah, planing ! Yeah, that’s it planing… lol
Nice work Tom.
Rhonda may keep you around a little longer !
I can only hope!
This looks beautiful! We are currently in the planning stages of adding a built-in bench in our dining room as well. This gives me inspiration!
Hi Tom,
I like the shape! What are the finished dimensions of the piece? In the last photo, it looks awfully wide and low for a seat.
Chris
Chris – thanks. The dimensions are 24 inches wide by 15 inches tall (without the lid). Once I put on the plywood lid and a seat cushion, it will come up to 16.5″, the exact height of the current dining room chairs. The bench is wide, but I will build a back rest that attaches to the top that will scoot the guest forward onto the bench, providing about 16 – 18 inches of space for the seat. . I did this to ensure that when my guests stand up, they don’t bash their heads against some upper cabinetry that I installed on the dining room wall to hold our china. I’m hoping to make a little more progress on this baby tonight…