
Hand tools are great. Seriously.
No, you won’t be able to blast through stacks of lumber in minutes. And, I have no intention of selling my power tools – so don’t get your hopes up.
However, in my two car garage – I mean workshop – I use a fair amount of hand tools. Sure, if you see me perform at the Hand Tool Olympics, you might laugh at this claim, but stick with me here.
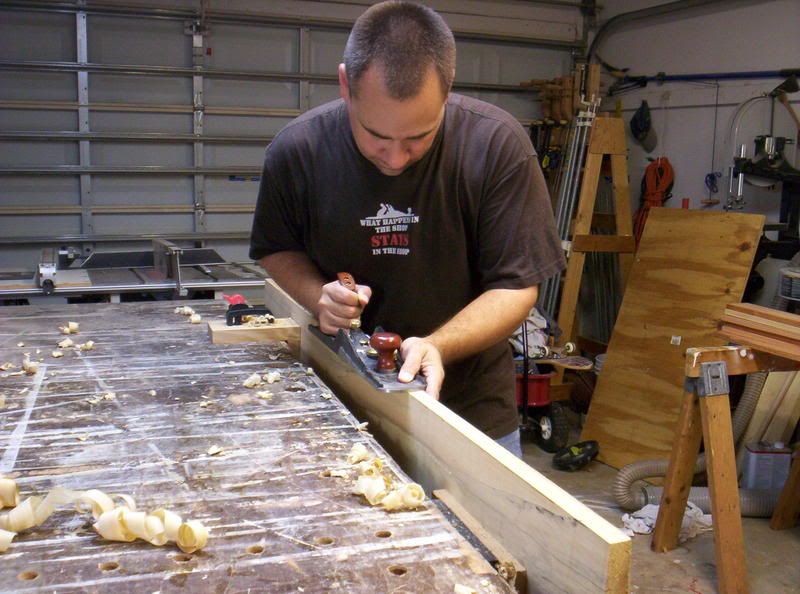
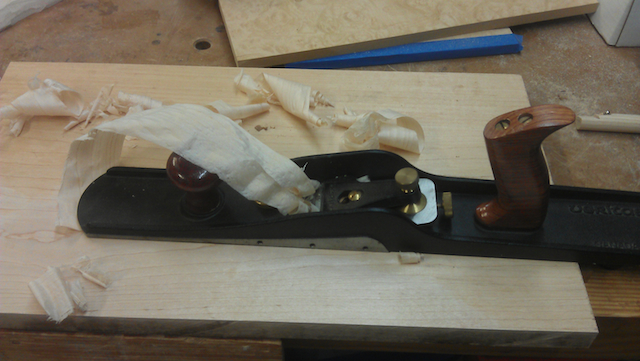
I don’t own a powered jointer because, well, I don’t have enough space to use it. So, to shoot my edges, I can use a table saw with an edge guide if things are really wonky, but if they are only a little out of kilter, I’ll reach for my bevel up jointing plane. When I take my time – and am not dealing with a bunch of hecklers – I can get nice square edges. And, while I do use a thickness planer, I will use hand planes to get the majority of the leveling done on one side before I feed it through the planer.
It hasn’t always been this way. I mean, my first planing attempts were pretty bad. That’s an understatement for sure. I would struggle, push, curse.. the whole nine yards. The results always left much to be desired.
That was until I got some advice from a few more experienced plane users. The best of what I heard was to take the time to dial things in one at a time until you get the results you want.
When you are working with any tool, you have to begin with the basics… the tool needs to be sharp. You’d think that would be a given, but you’d be surprised just how many people skip this first step. They will sometimes open the box on a new tool and start trying to take perfect curls off a board. That’s just not going to work. Sure, the iron has a nice edge ground on it, but you need to give even the best irons a honing. And, when you use these tools, you also dull the edges, which makes sharpening a skill you have to master.

There are lots of ways to sharpen a tool. For me, it’s a quick trip to the Tormek to refresh the bevel and edge, refine the scratch pattern and then hone the iron to a mirror polish. Water stones, oil stones, sandpaper, diamond stones.. .whatever your taste, get used to them by breaking them out frequently. And, don’t be afraid to touch up the edge on a fine stone or strop during use. It’s easier to keep them sharp than do everything from scratch.
Next, set the iron in the plane carefully. There are many different adjusting mechanisms on planes. Some are a simple as a wedge that holds the iron in place while others can be very complicated. Just be sure to rest your plane on your benchtop and slide the iron in place. This will set the depth equal to the sole of the plane. That’s a great place to start assembling your plane’s mechanism to get everything set up perfectly.
Then comes the tough part – getting those final fidgety settings down cold. I find that I sometimes have to tilt the iron to one side or the other to get it centered and ensure I’m not planing a slight bevel onto the edge of a board.
Sure, it takes time… but, when it’s done well… boy, will you be one happy woodworker!
Great tip Tom.
I have a couple of hand tools that I try and keep in Tip-Top shape and when I need them in the middle of a project, it’s always nice to know they are ready to go.
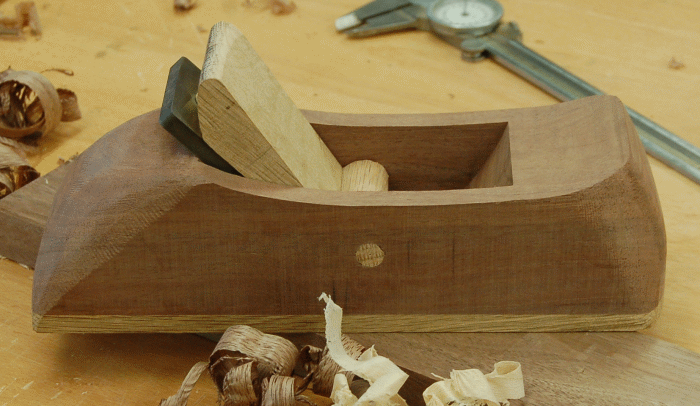
I have one of those Krenov style planes you have pictured on my list to make.
Thanks.