Now that we are in 2013, it’s only fitting we leap into a new project for the new year.
At the last Woodworking in America Conference, I met up with David Picciuto – a.k.a. the Drunken Woodworker. (Relax, folks, that’s just his title. He assured us that he never drinks and goes into the shop, and he told us that he has already had several folks comment on the name). He was showing pictures of a few bandsawn boxes that he had made of a strange – yet ubiquitous – material – plywood. Highly intrigued, I asked David if I could go back to my shop and make one for my job’s annual art contest. He told me to go knock myself out. Thanks, dude!
Anyway, the process is pretty simple. First, get yourself a couple of pieces of leftover cabinet grade hardwood plywood you have in your shop…
“Oh, but Tom, I only use superior quality hardwoods in my work…” Yeah, right. Poke around for a few minutes.. I’ll be waiting…
Anyway, you can draw up a design similar to the ones David uses, or you can go do your own thing. That’s cool with me. Get the size of the box you want to build, then cut and face glue appropriately sized pieces of plywood together. You can build it however large you would like.
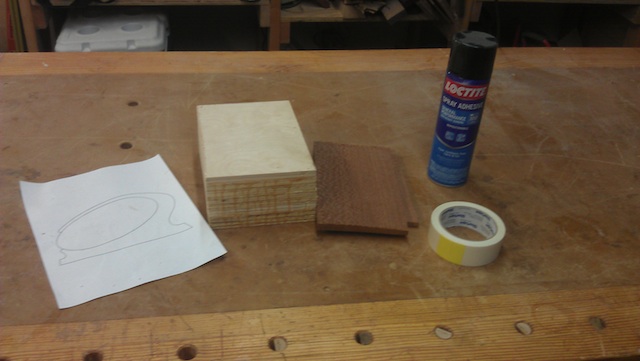
As you can see from the contents of my benchtop, I have the makings for a box. The glued up stack, two pieces of decorative hardwood (leopardwood in this case), the plan, a can of spray adhesive to attach the plan to the top of the stack, and some double stick carpet tape. That’s the secret ingredient, because with it, you can temporarily attach the pieces so they can all be cut at the same time, yet get them apart to do other work.
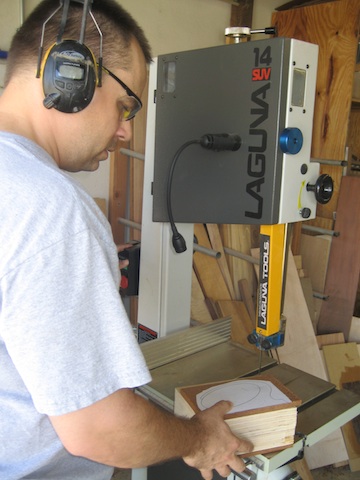
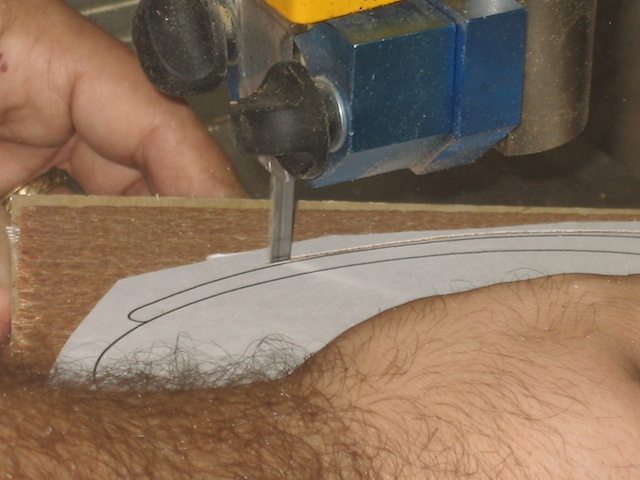
I carpet-taped the pieces to the plywood stack, and spray adhered the pattern to the top of the sandwich. Once that was done, it was time to move on to the cuts. I put the 1/4″ blade on my Laguna and fired it up. While the lines in the plan weren’t that tight, I took my time and rough cut large chunks of the waste off first. This way, I could work with a smaller piece, making it easier to work with. I got close to the line, figuring I was going to sand to it later. The really careful cuts were going to come when I had to get inside the piece.
Once I took it off the band saw, I did give it a good once over at my combo belt/spindle sander. That thing works great!
When it came to the inside, I had to remove the drawer slug from the big stack. But, first things first, I had to pull the back side off the box. I wanted to use the leopardwood back as a stop for the drawer, and there’s only one way to do that… pull it off before you cut. I threw the remainder of the box on the band saw, carefully lowering the guides to get them closer to the work. This time, I took great care to split the line with the blade, pushing ever so slowly to ensure a more accurate cut. Once I made it all away around the inside of the cut out, I pulled the slug from the middle. Ta da! Not bad for a trained shop monkey…
From there, I had to cut out the inside of the box to make the drawer. After all, what good is a bandsawn box without a working drawer? So, I took the leopardwood face off the drawer slug, and proceeded to cut out he middle of the drawer. Here’s where I ran into a little trouble… I had glued up the last piece of plywood, not realizing that I was going to have to keep that loose so it could be pulled off to become the back of the drawer. Meh, I found a small piece of the same plywood, scribed and cut it to fit the inside of the box, then glued it in place. If I’m not happy with it, I might just flock the inside and be done with it.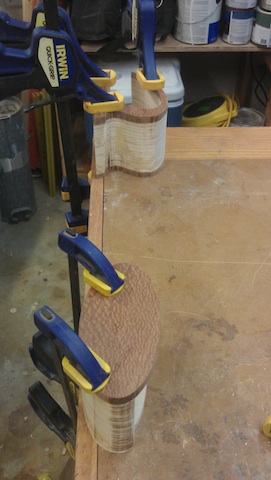
Now, before I could give this the final sanding, everything had to be glued back together in the right order. This way, I could ensure that everything was going to come together perfectly. So, I smeared glue on the meeting faces, and clamped everything down to my bench. That’s good enough for one day’s work. Next up, some sanding, maybe some flocking and a finish… pretty easy when you think about it!


Nice!! Looking forward to seeing the sanded/finished version!
I bet it’s a beauty when your done !
Band Saw boxes are fun to make.