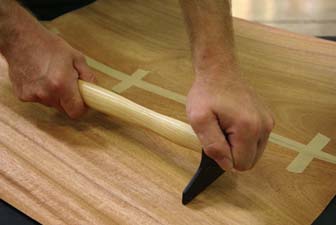
Hey, everyone, Iggy here. I wanted to alert you that Tom is now *ahem* teaching certain things about woodworking. In fact, he was asked to speak at a recent meeting of the St. Petersburg Woodcrafter’s Guild about veneering.
I’m actually stunned, because I mean – it’s Tom. The guy who cut his finger with a set of hedge trimmers. I’m rather impressed he was able to get up and talk in front of a group without putting his foot in his mouth.
The other thing that impresses me is that Joe Gorleski of Veneer Supplies trusted this Mook enough to let him mention his company. I mean, what was Joe thinking?
Anyway, here’s the big guy attempting to make everything work. I hope you were able to make some sense out of his rambling.
There. Did any of that make any sense? He actually seemed to have his act together. Maybe he was on his meds that night – who knows? While you might be impressed, try not to be too impressed. Check out some of his other video stylings here..
Ahh, silly boy. I guess once a Shop Monkey, always a Shop Monkey, right? Shesh…
Now, for me, back to the shop.
=========================
I TOLD you Tom was up to no good. Joe was nice enough to e-mail me and give some corrections to Tom’s ramblings. Here they are:
- Plywood is a great substrate (my favorite) but maple plywood can be a pain. Why? Because maple is one species that many adhesives struggle with. It is the standard by which glue makers do their testing because its such a finicky wood species. It also is one species that expands more than normal when moisture is applied (such as from a veneer glue). When I use plywood, its birch or oak.
- The veneer saw is right handed only. The blade is reversible but the handle is angled for right hand use only. I’m a lefty though and I’ve never had any trouble using my right hand with the saw.
- Three hole tape can actually be used on the glue side. I only do this on species where the veneer has a tendency to take the stain differently if the glue from the tape does not complete come off when I sand the panel. In those instances the 3 hole tape can be used on the glue side. The holes in the tape actually provide enough surface area to let the glue keep the seam line tight and well bonded.
- Never use yellow glue for any type of veneer. End of story. Never ever use it for veneer.
- Contact cement is not suitable for raw wood veneer simply because its not strong enough to prevent the seasonal expansion and contraction of wood cells (even when a finish is applied). This can allow lifting and bubbles in a raw wood veneer. With a paperbacked veneer, the bond to the paper minimizes expansion and contraction so contact cement is fine.
- A J-roller is not my choice of tools for spreading glue. The foam rollers I have are much better.


Excellent overview. I just completed my first shot at veneering using the Heat Lock & Supersoft 2 products about a month ago. It was an old cedar chest that I stripped and covered with waterfall bubinga. It turned out gorgeous, and really couldn’t have been easier. I would recommend the process for anyone to try. I was flat-out amazed by the results!