The best tonic for a lousy day in the shop is to get right back out there, do things the right way and make some serious progress.
After my previous ‘issues’ in the shop – the ones that caused me to stop everything and start over from scratch – I knew I had to get back in there and get things back on track. Get back into the flow. Get back in the saddle again.
And, that’s just what I did. Last week, I went into the shop, cleaned stuff up and got ready for a busy Saturday. I broke out the plans for the project again and started anew.
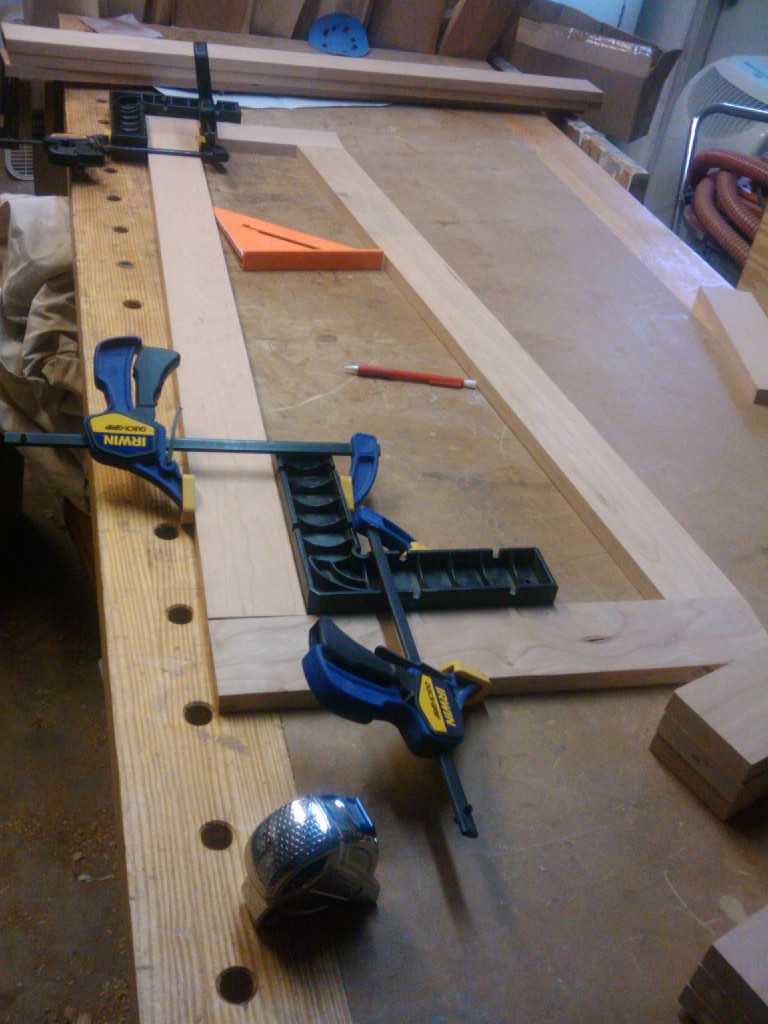
No, I didn’t do anything too exotic. I started measuring, cutting and drilling for dowels just as I had done before – a straightforward rebuild of where I had already been. The real trick came in when I started to glue the outside frames up. That’s when I had the opportunity to rediscover some of the clamps and clamping devices I had already invested in. My two assembly squares were pressed into service on the square parts of the frames during the glue ups. Simple to use, they not only allowed me to get the assemblies square where they needed to be, but they also clearly showed how quickly things could get out of square when the glue ups were taking place.
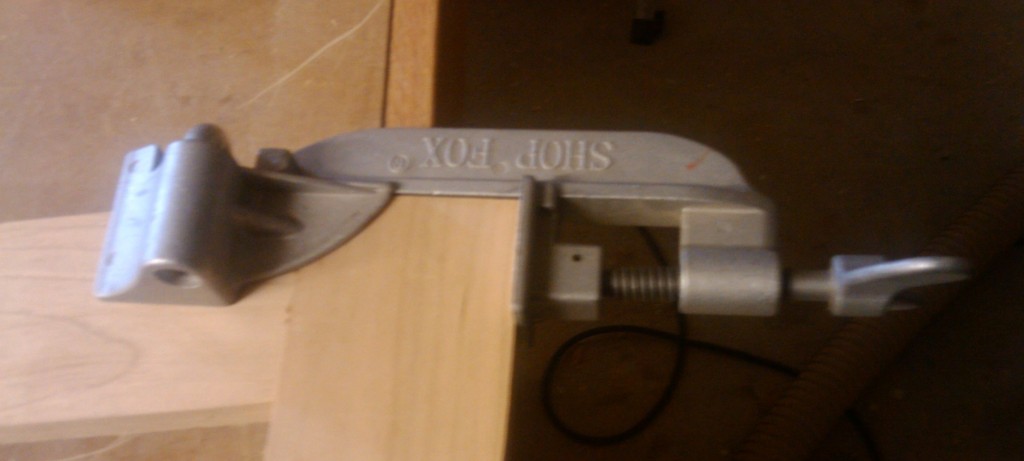
I found another set of specialty clamps living on my clamp rack. A friend of mine had given me a pair of Shop Fox right angle clamps a few years ago, and I never had an opportunity to use them. Until now. The sloped front braces were presenting a big challenge for me. How was I going to get them to clamp up tight with conventional clamps? Simply clamping the shorter top rail and the longer bottom rail didn’t help. However, these babies were able to grab on to the uprights and pull the dowel joints tight with a few turns of the big handles.
One word of caution… these clamps, while very tough, are not super heavy duty. I cracked one over tightening it to close a stubborn joint. The lesson learned there? Use a mallet to seat the joint as tightly as possible and then get it super snug using the clamp at the end.
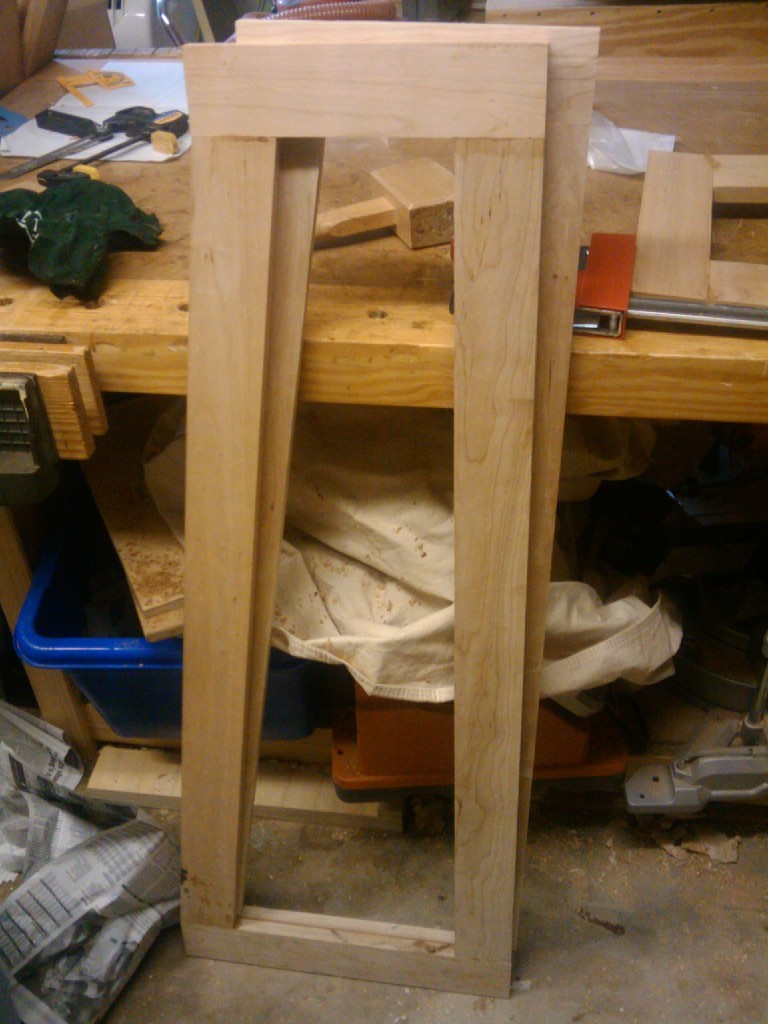
So, using a more careful approach gave me good results. But, I wanted to see just how much things improved. As you can see in this photo, the original frames were just way, Way, WAY out of square. The one in back is the offending one…
Slow is fast, fast is slow. When I slow down and do things the right way, I’m going to be moving a lot more efficiently.
Now, it’s time to start making some progress on this project!


