I often wonder why two things that go together often don’t match up.
A few years ago, a hot dog manufacturer proudly announced that their dogs now came in a bun-length size. Color me curious, but as far as I could tell during my 42 years of life, hot dog buns have pretty much been a standard length. I’m just wondering why dog manufacturers took so long to adopt this new size? That will make you go ‘hmmm’ at your next cookout for sure.
Another place I have seen this involves the width of a range hood vs. that of an over-the-range microwave. When my wife and I moved into our house, we had a pretty standard issue contractor grade range hood in a lovely shade of avocado above our range. It was disgusting, and we needed to have it ‘taken care of’. So, I took a can of high-temperature black paint and – heeding the advice of Mick Jagger – I painted it black.
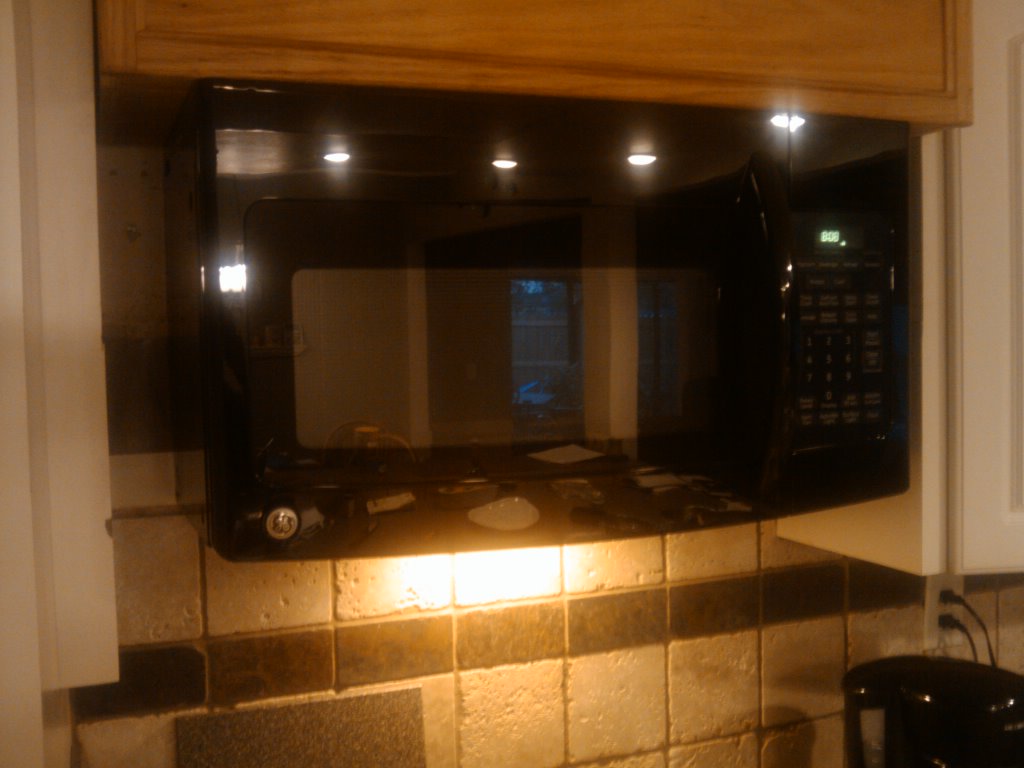
That was great until we noticed that our microwave oven was taking up space in our efficient kitchen. Why not combine the best of both worlds – get an over the range microwave that also functioned as a range hood? So, about five years ago, I vowed that we would do that.
Well, imagine my surprise when I discovered that the cabinet above our range was too low to install a microwave into. Bummer. So, my friend down the street and I got ambitious, cut the cabinet free and created a huge void above the range top. I had to build a simple ‘filler’ cabinet above the range to drop the unit lower than the ceiling and to hide the electrical connections and venting.
When we went to install the new unit, my stomach sank. You see, over-the-range microwaves are about 30 inches wide, but range hoods are 36 inches. What was I going to do?
Back at the home improvement center, they wanted to sell me a ‘filler kit’ – basically a few filler panels to close the unused space in. But, that didn’t seem right. After all, we have a number of cutting boards we need to store, and all they do is clutter up the cooktop. So, I thought for a while and came up with this insanely simple yet useful idea.
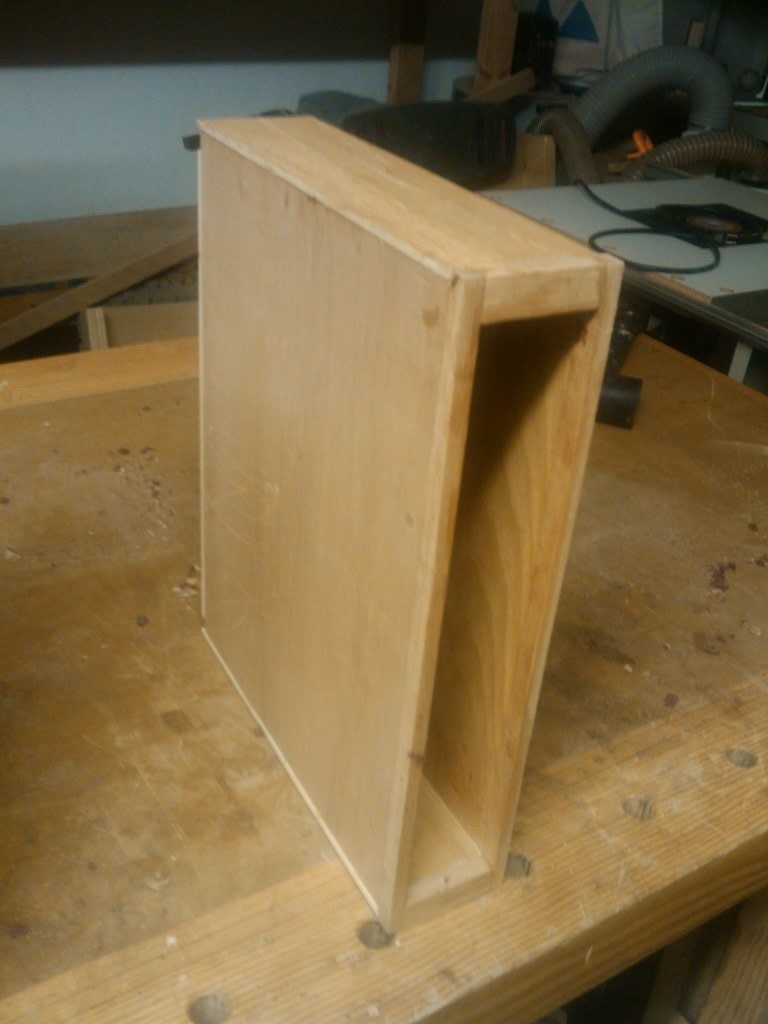
Basically, what I created were two slip bookshelves out of some scrap red oak plywood. They were very simple to build – the tops, bottoms and backs were strips of 3/4″ plywood cut to width and rabbeted to accept the side panels. Those were made of some 1/4″ ply which was glued and stapled into place. They fit snugly into the opening and are screwed into the bottom of the filler cabinet with a pair of pocket hole pan head screws.
In place, they provide a convenient area to stash the cutting boards and keep them off the counter top. They were very easy to build and – I think – provide a convenient place to stash the cutting boards until they are needed.
Why am I writing about them now? Well, after five years of popcorn, reheating and way too many door slams, we had to replace the microwave. The new model is a sturdier, brawnier one which – I hope – will be able to handle the force of the two growing lads in my house as they enter their teen years and eat us out of house and home.


First I said yummm.
Then after I went and got me a hot dog with relish and mustard I realize it was about the shelf. Seriously that looks like some good work.
Very good idea and use of otherwise wasted space.
Rog
Thanks for posting your microwave shelf project! We’re looking at doing the same thing — our 36″ o/r microwave died and replacing with a 30″ is cheaper, and will give us some extra space. (The 36″ had as much capacity as a 30″, just with wasted filler space.)
I am wondering, had you considered NOT centering it? For example, if you had left-aligned it, the fan would still cover your burners and give you just one larger storage shelf. Would that have looked too awful?
I ask because we’re considering left aligning the 30″ in the 36″ space, and besides cutting a little more of a hole in our upper 36″ cabinet for the vent hole, I cannot think of any other disadvantage. Unless it looks stupid – that would be a disadvantage I guess.
The advantage is a bigger shelf where I could store my favorite cook book.
You did an awesome job.
Not sure why a non centered setup wouldn’t work. Try using cardboard cutouts to see how it will look before you commit.
I had the same problem, and I loved it your idea! Thank you for sharing.