A sharp looking paint job. A sharp-dressed man. A sharp wit.
We throw out the word “sharp” a lot during our daily routine. And, most of the time that we do so, we aren’t referring back to something that can cut anything but the mustard.
As woodworkers, though, isn’t “sharp” one of our primary concerns? Sharp tools cut wood better than dull ones, are safer to use and lead to much better results. But, what exactly is sharp, and how do you know when you’ve gotten there?
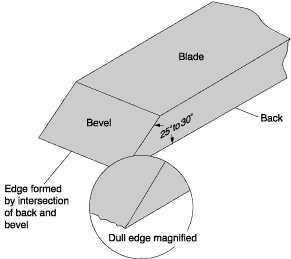
To get to the bottom of this, we return to Ron Hock of Hock Tools. “Sharp is simply a quality you get when two planes intersect at zero radius. The closer to zero radius the intersection is, the sharper the edge will be.”
Seems simple enough, but of course, that’s not the end of the story. Ron began by explaining to me that for something to have sharpness, those edges have got to meet at a 90 degree or more acute angle. “You can get sharp edges on a board you cut to 90 degrees. Take it off the jointer and feel the edge and you’ll learn quickly what a sharp corner feels like. But, if you cut the board at greater than 90 degrees, the edge may be clean and crisp, but it’s less likely to cut you.”
That makes the angle of the edge a critical component. “The rule is that the more acute the angle where the two planes meet, the finer the edge, but the more fragile it will be.” That’s why razor blades shave hair smoothly with their very acute angle edges, but they would stink as wood-cutting chisels.
Interestingly, chisels are a very easy way to get a handle on this matter of sharpness. Paring chisels, used to carefully slice away wood for a joint, are usually ground with a 20 degree bevel. Mortising chisels, on the other hand, need to have their bevels ground at a wider angle – usually about 30 – 35 degrees – to withstand the chopping necessary to cut a mortise. Bevel-edge chisels – used in many cases for both applications – are ground to a 25 degree angle.
For many woodworking tools, sharpening is a relatively easy task. “Both plane irons and chisels are single bevel tools – they have a flat side and a bevel on the other. Since the bevel and the flat have to meet precisely, getting the flat side ground and polished is an essential first step.” When you purchase older chisels or plane irons, it’s a good idea to bring a straight edge along with you to see how far out of true these tools are on the back side. Even with the best tools, a careless owner may have done something to get the flat out of true. Most tools made in modern factories – especially high-end premium tools – are ground adequately flat at the factory.
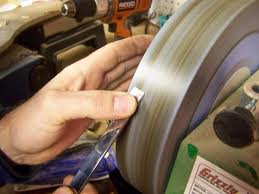
“With a flat back, the next step is to shape the bevel. If the tool is made and maintained properly, regrinding the bevel may be required only if you like to hollow grind on a grinding wheel, if you want to change the angle of the bevel or if there is damage to the edge that you need to grind away.” There are many ways to grind the bevel on a tool – with coarse stones, on a wheel or a platen grinder, with sandpaper, etc. The key to grinding is to keep the bevel consistent as you work, and don’t overheat the tool, which turns the steel blue and draws the temper from the tool, leaving the overheated areas softer.
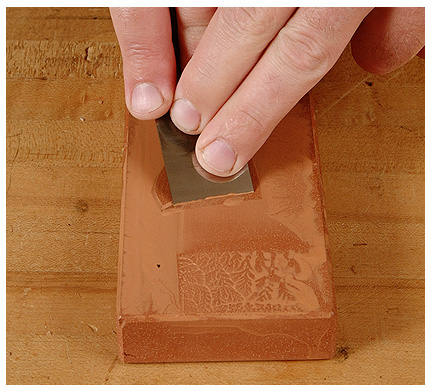
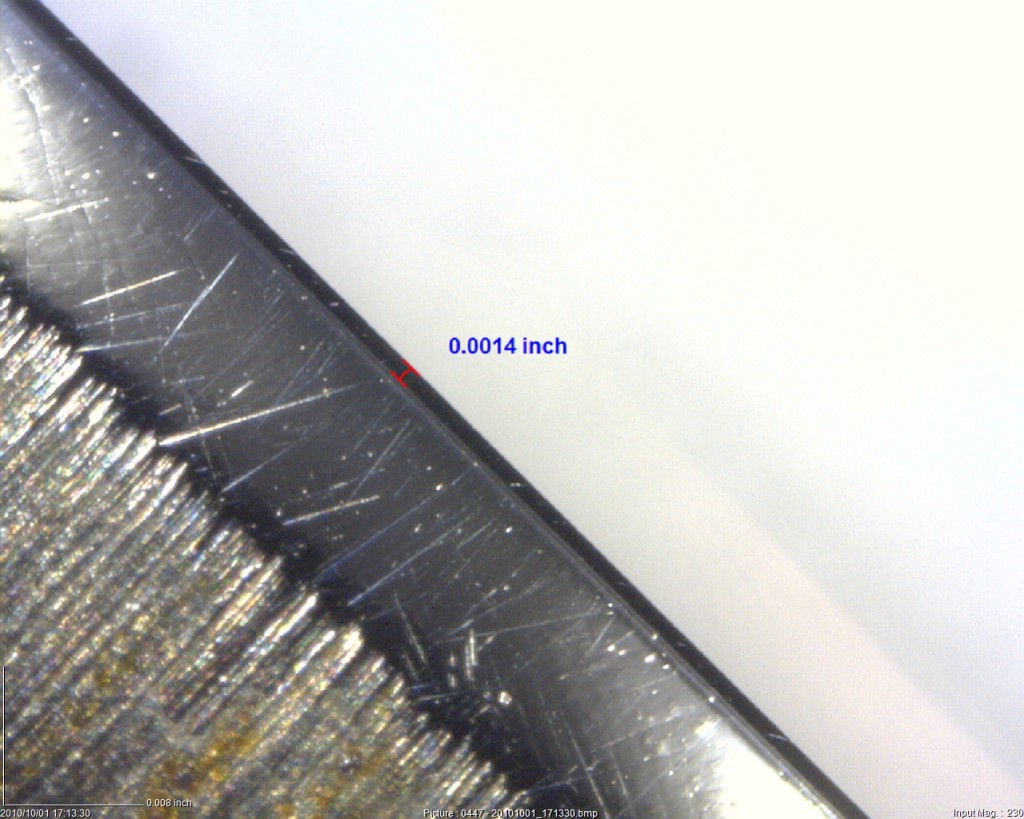
Once the bevels are ground, the next step is to hone the blade. “Again, there are a lot of different ways to hone a blade. Water stones, diamond stones, oil stones, honing film… What you are trying to do is to replace the coarse scratches in the blade with smaller ones as you progress through finer grits. This is going to make that edge where the two planes meet as fine as possible.” This is easy to see when looking at a blade’s edge through a microscope. Deep scratches from a coarse stone appear almost as rough saw teeth, and finer ones help refine the edge.
“For hand-held honing, I recommend a hollow ground bevel so the edge and the heel of the bevel can be used as a tactile honing guide. You can feel when the bevel is set properly on the stone. Some woodworkers also like to put a one or two degree microbevel on the cutting edge. You can save time this way because you’re only honing a thin stripe at the cutting edge. The larger angle of the microbevel strengthens the edge a bit, too. But if you hone hand-held, it’s difficult to maintain the angle of a microbevel.” Should everyone put a microbevel on their tools? “It’s all up to you – and your technique. I hear from both sides, frequently and adamantly. Microbevel or no, sharpening is a basic woodworking skill that requires practice like any other skill.”
Double bevel tools such as knife blades require more care when sharpening. “Remember, you are grinding two bevels that have to meet at a particular edge as evenly as possible. Practice and consistency are keys here.”
But, how far should you sharpen your tool? “Polished edges do last longer but I’ve seen woodworkers obsess about getting to ultra-micro-fine abrasives to get the ‘perfect’ edge on their tools. I think 8000-grit is fine enough for most applications but woodworkers I know and respect insist on 12,000-grit or even finer for their blades (Here is an excellent chart to help you identify different grit sizes across a variety of honing media). Keep a block of wood, pine works well, in a vise nearby. When the tool can cleanly pare through the end grain with little effort, that’s where I’d stop. After all, you want to get back to woodworking as soon as possible, right?”


Good post. I enjoyed that.
yaakov….
There are as many ways to super sharpen and hone plane blades and chisels as there are to grill a steak but after recently spending some time with Rob Cosman in one of his workshops in Ontario, Canada I can attest that after over 50 years in woodworking Rob has it figured out in 32 seconds or less. Now the question is what to do with all those fancy and sometimes expensive jigs, fixtures and grinders I’ve accumulated over the years.