My oldest son recently turned 12. Yes, it’s the last year for a while in my house without a teenager. I had better enjoy it while I can.
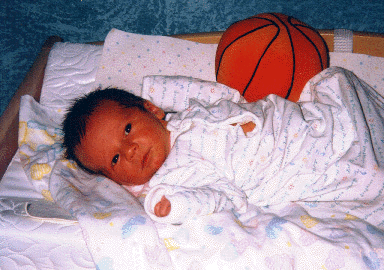
While thinking back about his birth, I can’t help but wonder if he wasn’t the most documented child on the planet. You see, when he was born, he was my parents’ first grandchild.
When they came to visit those first few months, the shutters were snapping like crazy. My son getting fed. My son getting changed. My son being rocked to sleep. My son getting bathed. It took a few weeks after family visits for my eyesight to return to normal after staring at that darned flash…
Back in those olden days, pictures were taken on this ancient medium called film. And, when you took the pictures, you had to take them to a photo processor to be developed. And, well, for an event like the birth of a child, you had BOXES of photos to sort through. And warehouse.
And display…
Of course, you could go into hock buying dozens of frames to display the choice photos of important moments, but why not add to the presentation by building your own picture frames?
With Mother’s Day, Father’s Day, graduations, wedding season and so many other meaningful events happening in late spring and early summer, there are many opportunities to build custom picture frames to present as gifts to commemorate special moments.
“Picture frames are insanely easy to build,” said Tim Walter of Eagle America. “They involve just a small amount of wood, but showcase your woodworking skills like very few other projects can.”
The material the frames are made out of can alter the look from basic to fancy. “Some interestingly grained wood is eye catching for flat pieces. We also offer a number of router bits that create interesting profiles and shadow lines. Our 5-piece framing router bit set offers you endless profiles when used in combination with one another or when just using a single bit at varying depths in your router table.” Tim also pointed out that these bits, when used on a workpiece glued up of contrasting boards can produce dramatic effects as the different colors and grain patterns are exposed during the routing process.
Once you have created the pieces of the frame, it’s then time to join. At its simplest, a picture frame is four pieces of wood joined to form a square or rectangle. “Just like you used your creativity to create the profile of your frame, you can put it to work here when you put your frame together. There are dozens of ways for you to securely assemble your custom made frames, some of which include biscuits, lap joints and splined miters. Whatever works for you…”
A rabbet on the back side of the frame is also a great way to retain the items that are included in a securely-mounted photograph. “A piece of glass in front protects the image from fingerprints and dust. A mat is optional, but can really jazz up the look. Then, you’ll have the photo and a secure backing to hold it all together. A stepped rabbet bit is an interesting option for you to make these cuts in fewer steps.”
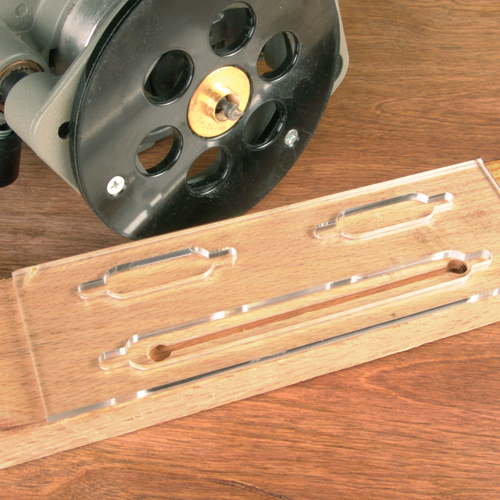
Eagle America is also offering a bonus kit of tools that can help make building the frames a little easier. “Clamping those miters could be tricky, so we’re throwing in a Self Squaring Picture Frame Clamp. You have to also hang the frame as well, so we’re also adding a keyhole bit and keyhole template to make that process a little easier. We have some other goodies in the kit as well…”
My son has gotten to the age where his baby pictures are starting to become embarrassing. I think it’s kinda cute now, but I’m sure it will start to wear on me soon. No matter how old he gets, he’ll always be my little boy.
And, I’ll have the photographs to prove it!


Thanks for this Tom! I was just talking about how I need to start making frames for my art. 🙂
I agree, Tom. My boys are 5, 5 and 1 1/2. I need to get off my ass and make some frames (I haven’t made a frame since any of them were born).
Sweet jig!
One apropos thing I realized for the first time fairly recently: Fitting-up in those regular old corner clamps (you know, one clamp holds two pieces butted together with complimentary mitres or whatever) does not imply or otherwise indicate square. All this time, and it’s never tripped me up before.
I’ve long understood that they don’t really clamp **the joint**, in the sense that they don’t apply force along the two axes in the direction of the actual join. Which means you won’t likely get as strong a glue-up as you do when you use something like a stop block and a couple of vises or clamps (or a similar setup).
The more you know….
🙂
Tom,
Great article. I too have a son who turned 12 in February and I bet I can give you a run for your money on the # of photos taken!
Thanks for a great website.