No doubt you have heard about star athletes who, after tremendous success, suddenly have issues doing some of the more basic tasks. The golfer who suddenly can’t putt straight. The basketball player whose free throw percentage drops through the floor. The baseball pitcher who has trouble finding the strike zone.
 When something like that happens, the athlete’s livelihood and career are instantly threatened. And, given the severity of the downturn, these athletes will try just about anything to get their performance back to the top. Some will try different equipment. Some will start carrying a good luck charm.
And, others will seek the help of a sports psychiatrist to get their mojo back.
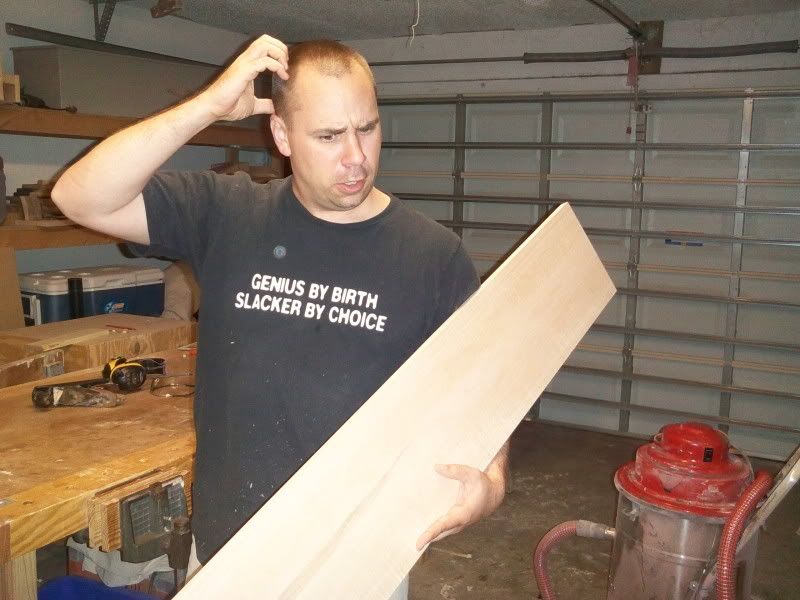
Maybe I need to see one who can help me with my panel glue ups.
I’m not sure what’s happening lately, but my past two projects that required edge-to-edge panel glue ups have not been very successful. The cradle I donated to charity was the first sign I was having issues. The project I am currently working on is the latest head scratcher.
 My method is pretty simple. I flatten the face of the boards I’m working on with a jack plane, whacking off the high spots until the board sits on the bench top with no issues. I then run that face down through the thickness planer to get the boards to an even thickness.
For edge jointing, I’ve been using a Veritas bevel up jointer plane – the same one I’ve been using since 2005. I sight down the board, level the high spots, continue until I get a continuous shaving and check the side-to-side for square. 90 degrees spot on.
It’s when I glue that things get sideways. I glue the edge, get everything set on my clamps then tighten them down. One edge might rise up. I put a handscrew on that. Another edge pops up. A few mallet taps to get it down. I’m happy with the left side, but then the right is messed up. Back and forth until I think it’s OK, and then – CRAP! – not another stepped glue up!
I know I have to improve my technique. My guess is that I am putting too much pressure on the clamps, or maybe not tightening them in the right order. Or, maybe the clamps aren’t 100% square to the board edge when I tighten them down? Not sure.
I know the glue makes the boards slippery, so any quirks in the clamping process will totally mess me up in the finished product.
Until I can get this hitch out of my technique, I’m going to start relying on two ‘insurance policies’ to give me an advantage.
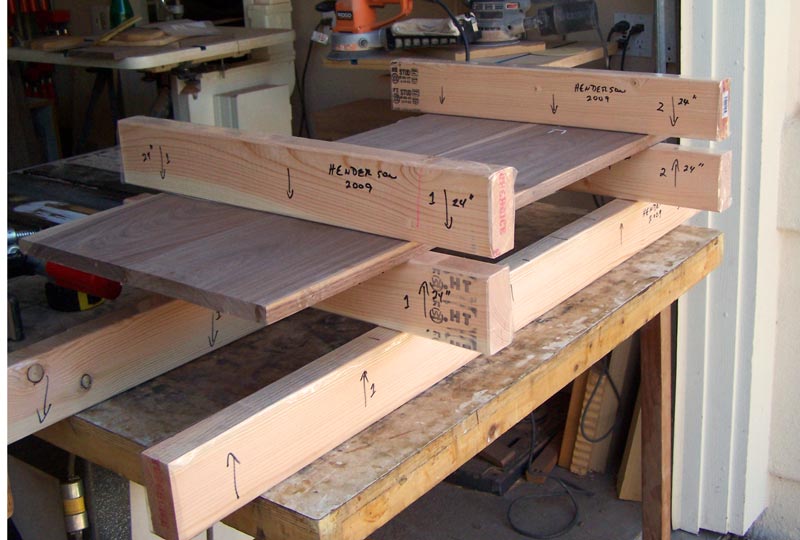
First, I’m gonna bust out the biscuit jointer. No, I know it’s not going to add any strength to the joint, but they will certainly help with alignment. The other is to cut some 2 x 4’s down to make cauls. If I can pinch the entire glue-up under the cauls, I’m certain it couldn’t hurt.
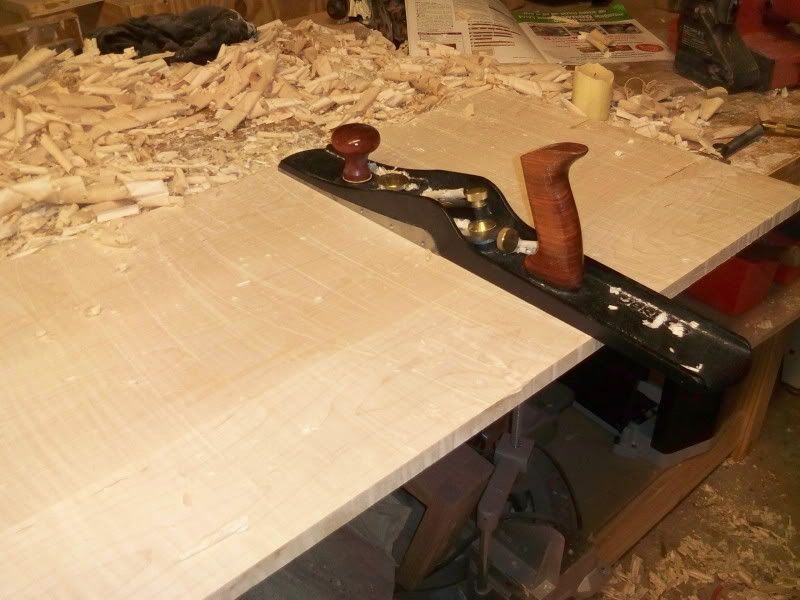
 How am I fixing the stepped glue up I have now? Well, I after further review, it wasn’t quite as bad as I had thought. Maybe 1/16″ of a step. To remedy, I clamped the panel on my bench and started planing. I got my bevel up jointer and planed across the grain from side to side.
 I know what you are thinking. “DANGER, TOM! You’ll tear your boards up doing that!” That’s what I thought, too. However, with a freshly-honed iron, a coat of wax on the plane’s sole and a light setting, I could hear the long plane slicing down the high spots as I went back and forth over the board. Eventually, I started getting full-width shavings. Snick. Snick. Snick. That side is flat. I flipped the panel over and did it on the back. Beauty!
The shavings I am getting kind of look like – well – shavings you would expect from a jointer plane. Not too thin, but not gouged-out chunks. Just a good set of shavings.
 There were some rough tracks, so I leveled most of those out with a smoothing plane. It’s a Stanley No. 4 – terrible for final work on highly-figured wood like this curly maple, but enough to take down the plane tracks. Before I did any tearing-out, I turned to a belt sander to further smooth the surface.
I’ll sand some more to refine the scratch pattern and then do some through dovetails. Finally, I’ll scrape the final piece down before the finish.
But, that’s a long time off. I have a lot of shavings to clean up before then.
 Maybe all of that cleaning can serve as a good way to meditate and reflect on the errors of my technique…

I made the switch to hide glue almost exclusively for these types up glue ups. The hide glue will tack up faster and prevent that slipping about as you tighten the clamps. The other thing I do to keep the boards flat is spring the joints. That means to remove a few jointer plane passes worth from the middle of the edge. This creates the tiniest of gaps in the middle and when you close the joint the edges press tightly together and help to prevent the stepped edge you mention. Finally good stable clamps can help too. I use Jet parallel clamps and set them on a flat surface so I can reference the boards against the bars. Throw a little wax paper under the glue line to keep the glue off your clamps and you’re good to go. Good luck Tom
Hide glue – it’s not just for antique reproductions! Thanks, Shannon…
Tom, does it help you to plane both edges at the same time, so they are mirror images? Rather than using biscuits a couple small brads driven into one edge and snipped will also keep things from sliding on you.