When I started woodworking, I brushed on polyurethane. And, it was good.
Then, I developed a wipe-on finishing regimen with some home-mixed stuff. And, it was better.
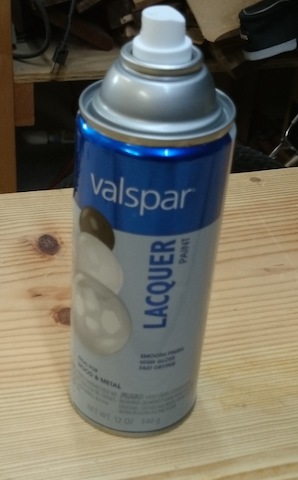
Now, I’m on a new type of finishing kick, and it’s fast as lightning and does a very good job. Let me start of by saying that, yes, I do own an HVLP spray setup. I picked it up for pretty cheap over at the Lowe’s mega mart, and it does a good job. I think I have sprayed some water based poly and some shellac with fair results. I will need more practice.  But, for speed and convenience, it’s hard to beat a can of lacquer. This stuff is the cat’s pajamas. Well, actually, it’s not – it’s nitrocellulose lacquer, made by the nitration of cotton. I’m not sure what the heck that means, but I can tell you boy howdy, does the stuff stink. If you are going to use it, make sure you use the appropriate respirator and PLENTY of ventilation, or you will be – how should I put this – overcome with the fumes.
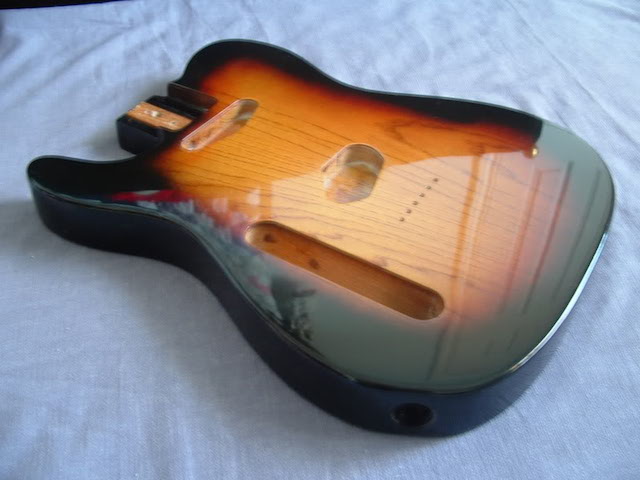
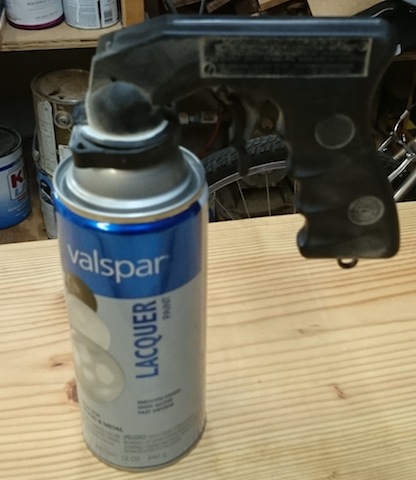
But the finish it produces … wow. The lacquer dries very quickly when you spray it, minimizing the amount of time that dust or other stuff can collect in the finish. Like a shellac, the solvents in each new coat dissolve some of the coat laid down before, making the finish easy to level and easy to repair. It take a beautiful polish as well, and it’s plenty durable, which makes it one of the primary finishes used on musical instruments.  To help make applying the lacquer easier, I bought a simple spray can handle from the spray paint section of the store and attached it to the can. This way, I can hold my hand in a more comfortable position and apply the product in a smoother fashion.
  The regimen is pretty darned simple. I sand the piece down to 220 grit, then make a decision. On the dedication plaque I made for my friend Len, I first applied a coat of my wipe-on finish to give the wood a bit more depth. I had to let that dry for at least a week, since the finish contained boiled linseed oil and poly. Once I had that on and let it dry, I applied six coats of clear lacquer.
  Woah, you’re thinking. Six coats! Won’t that take an eternity to dry? The fun part of spraying lacquer. You have to wait – maybe – five minutes between applying coats. If that. And, since the solvents in the next coat bond with the previous ones, there’s no need to sand between coats as you build. You simply shoot layer after layer. To finish the piece off, I did sand it down with some 320 grit paper to ensure I had a very smooth surface, then hit it with one last coat. I can tell you, the finish on that piece is gonna be there for a while.
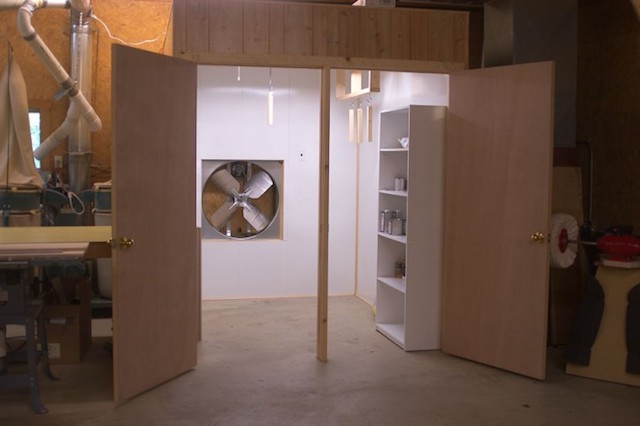
  Now, if you are going to move beyond the simple spray can of lacquer, you are probably going to want to build a dedicated spray booth with an explosion-proof fan to provide TONS of air flow, plus an appropriate filter to get the solvents out of the air before you expel it into your neighbor’s yard. Kind of like the folks at Dogwood Guitars build in the picture above here. But, that will be a post for another day.
Until then, if I need a high-quality hard film finish on a smaller project, I’ll get my can out into the shop.

Great post Tom.
I used spray can lacquer on a recent box build and was surprised at the quality and speed of the results.
Using my HVLP unit on smaller projects in a pain in the butt, and the can is the way to go in that area.
And incidentally, Dogwood Guitars spray booth is about the size of my whole shop ! haha
Tom, great input on spray can lacquer. I sometime forget I’m not building projects that REQUIRE an HVLP setup. I’m going to try this on my end table project.
Also, my shop could fit in that spray booth. I hate you. 😉