
It’s funny… the idea for the quick project I built this weekend came when I had my garage door opener installed. When the installer came in, he told me that the track that rail that opens the door shouldn’t be mounted directly to the concrete block in the wall, but instead to a wooden block that was mounted to the wall. He called it a shock block, and it supposedly prevented the concrete fasteners from rattling in the wall, expanding the size of the holes.
Well, I have this flagpole mount in front of the house that I mounted directly to the outside wall. And, over the years, the Florida breezes have moved the mount enough to loosen it. So, I wanted to put in a shock block… but I wanted it to look good.
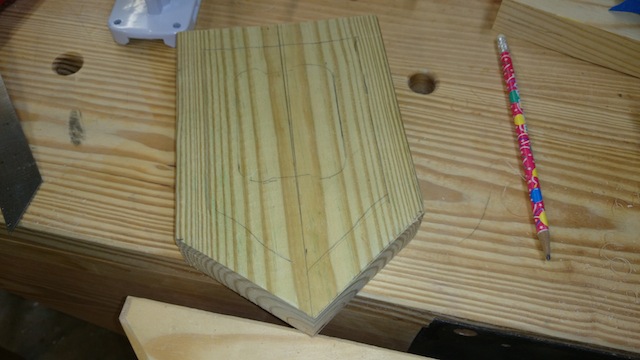
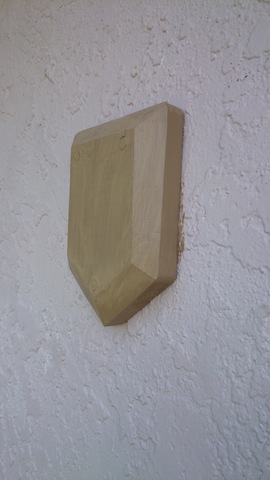
I had this piece of pressure treated southern yellow pine that was pretty clear. I had been holding on to it for the past year or so, and I thought it would make for a good block. I clipped an 8 inch piece from the board and trimmed the bottom to roughly match the shape of the bottom of a shield. I thought it would look pretty good. It was nice, but way too blocky. That’s when I moved to the bevel.
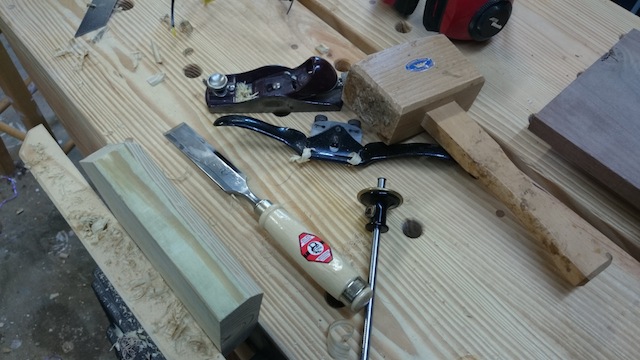
Using my mallet and a chisel, I was able to trim out a bevel across all five edges of the shield shape. Once I got it close to shape, I turned to a block plane, spoke shave and a sander to put in a nice, elegant bevel.
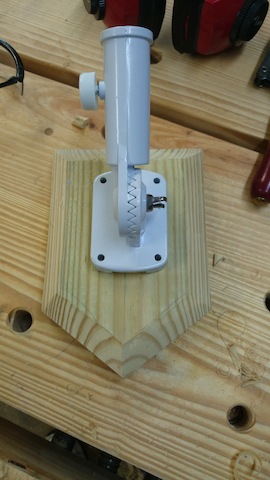
Once I had the block shaped, I placed the bracket that held the flagpole onto the block to get an idea of how large it would be. I traced the outside of the bracket, and carefully marked where I was going to drill some countersunk holes for the Tapcon fasteners that would hold it to the wall.
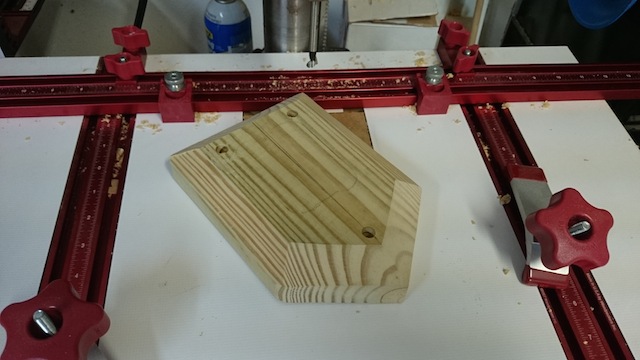
On the drill press table, I used a 5/16 inch forstner bit to bore some recesses that would be filled with plugs and through holes for the shanks. Once I got to this part, I put on a coat of primer and a coat of exterior paint that matched my home’s trim. I knew I had to protect it from the elements…
Now, I painted both the front and back of the piece to protect it, and I ran a bead of silicone caulk around the top and side edges to ensure that no water could get behind the piece. I did leave the bottom uncaulked, just in case water did get behind it.
Once I got the block mounted to the wall, I filled the countersinks with some short dowels I cut to size, and trimmed off the ends with a flush cutting saw. Another coat of paint on the front of the block helped to ensure that the block would look its best and be protected.
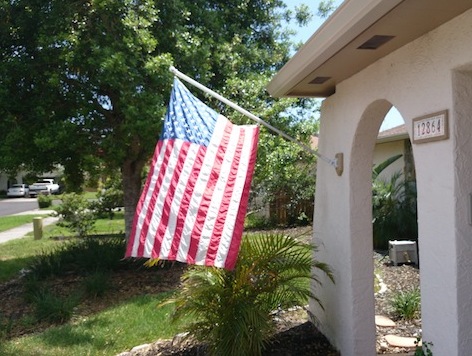
Once the block was in place, I carefully mounted the flag holding bracket with stainless steel screws to prevent rust, then put our American flag into the mount to see how Old Glory looked. Not too shabby.
With Memorial Day, Flag Day, Independence Day and Labor Day coming up, it feels good to have the flag properly mounted in front of the house. I hope my mounting system lasts for a few years.
Nice job Tom.
It looks great !