
I have come to an important realization in the process of building this prototype dresser top valet. It’s really just a project in three steps. The body, the top and the drawer.
Had I thought this out a while back, I might have completed this job – I dunno – four months ago. Instead, it all seemed so amorphous back then, but, now it’s so simple, even a trained shop monkey could do it.
Sorry, Iggy. I didn’t intend to disparage you.
Where were we … ah, yes, the drawer. The plan in Wood Magazine called for a very simple drawer design with all of the joinery done on the router table. First, I cut the two sides, front and back to size. That was easy on the table saw.
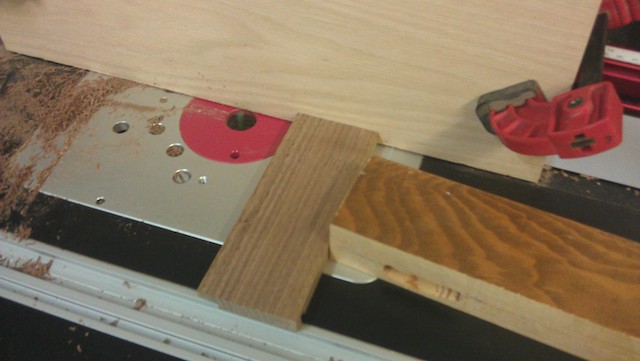
Using a large board as a backer, I cross dadoed the ends of the drawer sides to accept some stub tennons cut on the ends of the front and back.
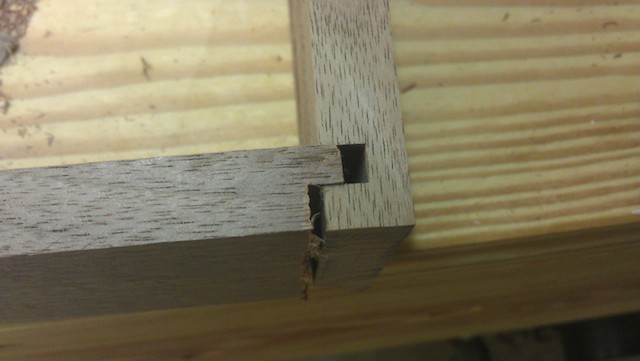
As you can see, the joinery is insanely simple and took only a few minutes to set up on the router table. Easy peasey.
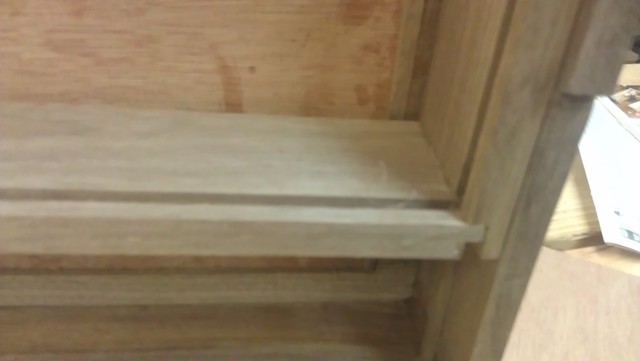
I also used the same setup to cut a groove to capture the drawer bottom and some grooves on the outside of the drawer, which would allow the drawer to ride on a set of runners I had glued to the side of the case. This photo doesn’t do it justice, but you can see the drawer runner peeking out at the bottom right of the photo. The drawer grooves ride on that.
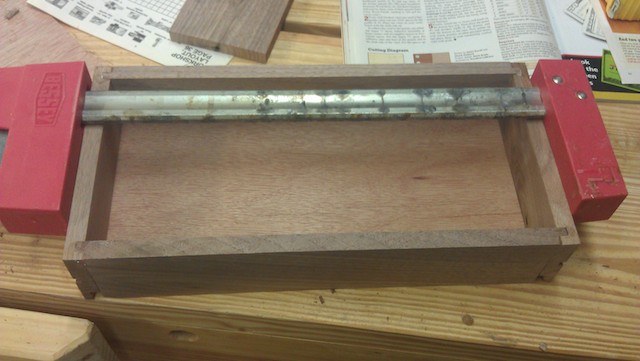
With a little bit of glue in the grooves and a plywood panel cut to size, I clamped the drawer assembly together, ensuring that the assembly stayed square through the process. This took all of maybe half an hour worth of work, and most of that was ensuring that the set ups were spot on.
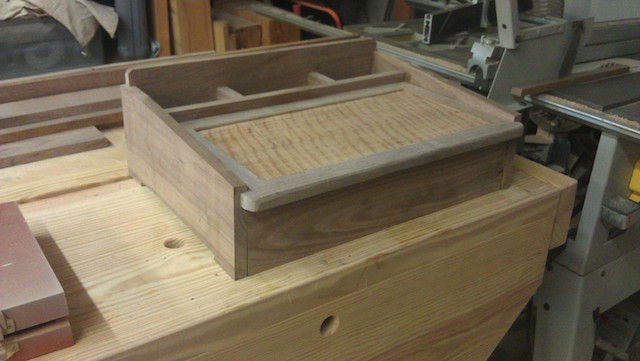
The next step was to attach a false front to the drawer to hide the grooves that peeked out from the sides. That was an easy task with a little glue and some clamps once I had everything centered. I have also drilled the 3″ centered holes for the drawer pull, and now I have to start sanding the piece to get it ready for finishing.
I’m hoping that once this is done, I will be able to make a few templates to speed up the building process, and when the temperature drops a bit, to get out into the shop and batch a few of these babies out …
Love it when Iggy makes an occasional appearance.
That Valet is gonna look sweet when it’s finished.
Good job Tom.
It looks like Iggy’s due for a new computer soon. Don’t you think he’s worked hard enough to deserve one? Maybe Apple will announce a MonkeyBook Air at their event September 9.