
So, this is a project that took me a few years to accomplish, but now that it’s done, I have to ask myself why it took so long.

Yes, this is the banquette project Rhonda asked me for. Oh, don’t believe for a moment that this is fine handcrafted woodworking, but as far as a useful cabinetry project that adds to the living area, it’s dyanmite.
As I had mentioned before, the seating area of the piece is basically a large plywood box that’s glued and screwed together. I was using some nice birch plywood for it because it was smooth and it was also inexpesnive. Using my track saw, I was easily able to break down the sheet with minimal fuss, making smooth cuts right off the saw.
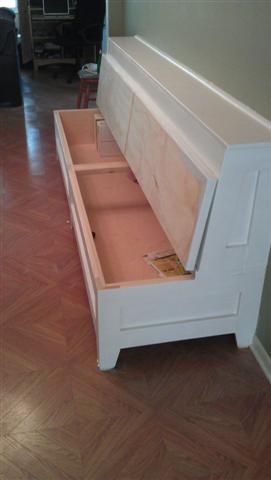
The lid was easy. I knew I wanted the back to be about 16 inches from the front of the seat, so it wouldn’t be too far back from the front. I doubled up the plywood for the seat and cut the back part of the seat free. This was attached to the top of the bench with screws and glue. I crosscut the front section in half, so you wouldn’t have lift one massive top to get into the goodies stored inside. A pair of loose pin hinges holds each section in place. The loose pin makes it easy to remove the bench lid if I have to do work on it…
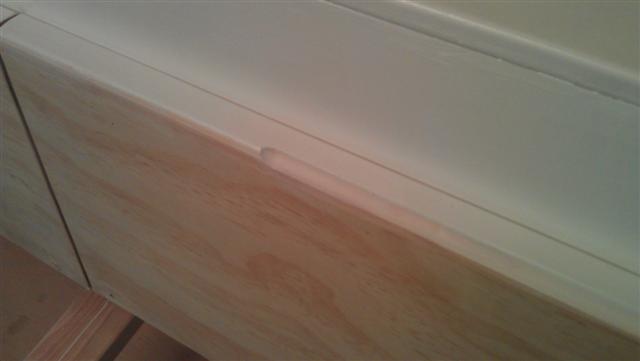
Since I wasn’t going to put a handle on the lid, I took the time to rout a cove on the front lip of the lid, allowing room for fingers to get a purchase to open.
The backrest is made from five fins of plywood cut witha 5 degree slope from the seat to the top. They formed a frame for the back of the seat, allowing a comfortable angle for seating. Those fins were notched, glued and nailed to some scrap plywood strips to hold them steady and provide a place for me to screw the piece to the wall. I skinned the front with a sheet of 3/4″ plywood and capped the whole thing with a piece of 1 x 10 pine.
As far as a finish – I started with a coat of shellac based primer. Yes, I treated it exactly like the base of the Rude and Crude method I use.. .shellac, followed by a thorough sanding with 320 grit paper. The surface was like glass… Perfect for two coats of a latex enamel paint.
Now, we need to repaint the wall (it was due) and clean up our laminate floor. Rhonda said she would also take care of getting a cushion for the seat, making it a little more comfortable for those sitting there.
Now, to fill it with all the stuff we have to store!
Looks great, Tom. Fill it with all you can.
Tom it looks good. Regarding filling it, remember nature abhors a vacuum.
That came out great Tom.
I bet it fills up in no time.
Tom,
Is there any way to access the area behind the seat back for storage?
Maybe an opportunity there for some hidden storage ;^D
I thought about that… meh…
Tom, I would love to build this same style bench. Do you have any plans or pictures during the construction of it. Thanks in advance…
Vito
Vito –
I didn’t draw out any plans…. it’s a simple box with a hinged lid, then I put the back together by cutting some angled ribs to attach the back to.